The Hidden Bottleneck: Why 80% of CFD Simulation Failures Start with “Dirty” Geometry
Let’s be real. You’ve got your physics defined, you know your boundary conditions, but your simulation just won’t run. Or worse, it runs and gives you complete nonsense. We’ve all been there. It’s a frustrating spot, and more often than not, the root of the problem isn’t your complex turbulence model; it’s the geometry you started with. A “dirty” CAD model is the single biggest cause of failed meshes and wasted hours. This isn’t just theory; it’s what happens in the trenches.
Before we dive into fixing things, it helps to understand the whole picture of what CFD analysis involves. If you’re new to the field, taking a quick look at this Ultimate Guide to Computational Fluid Dynamics will give you a solid foundation. But for now, just know that getting this first step right is critical. This guide is all about a practical approach to geometry preparation for CFD, turning that complex, error-prone CAD file into a clean, solvable foundation for your analysis.

First Principles: What Defines a “CFD-Ready” Geometry?
Think of your CAD model as the foundation for a skyscraper. If the foundation is cracked, has gaps, or is uneven, the entire structure you build on top of it is compromised. A “CFD-ready” geometry is a foundation that is absolutely solid. It’s not necessarily the same model you’d send to a machine shop. A manufacturing model is full of details for fabrication; a simulation model is an abstraction focused purely on the physics.
So, what does this “solid foundation” look like?
- Watertight: There are absolutely no holes or gaps leading from the inside of your fluid domain to the outside (unless they’re intended inlets/outlets).
- Simplified: It’s stripped of any features that don’t meaningfully impact the fluid flow, like tiny fillets, screw threads, or engraved logos.
- Non-Conflicting: There are no surfaces crashing into each other or occupying the same space. Every part of the model knows its place.
Achieving this state is the entire point of geometry cleanup, and it’s the non-negotiable prerequisite for creating a high-quality mesh. A good mesh is impossible without a good starting geometry, which is why understanding key meshing concepts like quality and skewness is the very next step in the process.
The Engineer’s Diagnostic Kit: Identifying the 5 Common Sins of a CAD Model
Before you can fix a problem, you have to find it. Over my 15 years doing this stuff, I’ve seen the same handful of geometry issues sink projects time and time again. I remember one heat exchanger project early in my career where I spent two full days fighting a meshing error. The culprit? A single, tiny, overlapping surface between a tube and the shell. A two-day headache for what turned out to be a five-minute fix.
Here’s a checklist of the usual suspects. Learn to spot these, and you’ll save yourself a world of pain.
Sin #1: Gaps, Holes, and Non-Manifold Edges
These are the most common killers. A tiny gap between two surfaces means your fluid domain will “leak” during the meshing or volume extraction phase, causing the process to fail. Non-manifold geometry is a bit trickier; it’s where an edge is shared by more than two faces, like the spine of an open book. CAD systems sometimes create these, and meshing algorithms absolutely hate them. 😩
Sin #2: Intersecting Bodies and Duplicate Surfaces
This happens a lot with complex assemblies. A designer might model a bolt passing through a flange, but they forget to perform the boolean operation to actually subtract the bolt’s volume from the flange. The result is two solid bodies crashing into each other. Your mesher sees this and has no idea what to do. You also need to check for duplicate surfaces, where two faces are sitting in the exact same location. It’s an easy mistake to make and a surefire way to get an error.
Sin #3: Unnecessary Features (Fillets, Chamfers, Logos, and Threads)
Does that 0.5mm fillet on the outside of a car body really affect the overall aerodynamics? 99% of the time, no. But it will force you to create millions of tiny, unnecessary mesh cells, skyrocketing your computational cost. The rule is simple: if a feature is several orders of magnitude smaller than the main flow features you’re studying, get rid of it. Defeature aggressively. Your decision might change if you’re using advanced turbulence models for near-wall effects, but for most standard analyses, simplification is key.
Sin #4: Sliver Faces and Sharp Angles That Kill Mesh Quality
A “sliver face” is a long, skinny triangle or quad face with a terrible aspect ratio. They are often created when two surfaces meet at a very sharp angle. These faces are poison for mesh qulaity, as they force the mesher to create highly skewed or stretched cells that can cause your solver to diverge. Your goal is to identify these areas and either merge the faces or slightly modify the geometry to create healthier angles.
Sin #5: Corrupted Imports (The Classic STL vs. STEP/IGES Problem)
The file format you import matters. A lot. An STL file is just a collection of triangles—it has no “smart” surface data. It’s like a picture of a car instead of the car itself. It’s often full of holes and errors. Whenever possible, always request the model in a native CAD format or a robust exchange format like STEP, IGES, or Parasolid. These formats define the true mathematical surfaces, which are infinitely more reliable for CFD.
Dealing with a messy imported file on a tight project deadline is incredibly stressful. This specific, time-consuming task is often where teams decide that leveraging a professional CFD consulting service is more cost-effective than losing days of engineering time.
The CFDSource 3-Phase Methodology for Robust Geometry Cleanup
Okay, so you’ve identified the “sins” in your model. Now what? Just randomly start deleting faces? No. You need a process. We’ve developed a simple, repeatable three-phase approach that turns the chaos of geometry cleanup into a structured engineering task.
Phase 1: Strategic Defeaturing – The Art of Simplifying Without Losing Physics
This is more art than science sometimes. The goal is to remove every feature that won’t have a first-order effect on the physics you care about. Think about your flow. Are you studying the pressure drop in a valve? Then the manufacturer’s logo on the casing is irrelevant. Get rid of it. This isn’t just about making the mesher’s life easier; it’s about respecting your own time and computational budget. A cleaner model means a smaller, more efficient mesh.
Phase 2: The Repair Toolkit – Core Techniques for Creating a Watertight Model
Once the model is simplified, it’s time for surgery. This is where you fix the gaps, holes, and intersecting bodies you found earlier. Most modern tools have functions like:
- Stitch: Merges edges that are very close together to close small gaps.
- Patch/Fill: Creates a new surface to cover a hole.
- Boolean Operations: The classic Union, Subtract, and Intersect commands to correctly combine or cut bodies.
This stage is tedious, but it’s where the model becomes truly “solid” and ready for the final step.
Phase 3: Mastering Fluid Domain Extraction (Internal vs. External Flow)
This is a big one. The solver doesn’t care about the solid metal of your pipe; it only cares about the empty space inside where the fluid flows. You need to “extract” this volume. For internal flows (pipes, valves), you’ll typically use a tool to cap the inlets and outlets and fill the internal void. For external flows (like a car or airplane), you’ll build a large “enclosure” or wind tunnel around the object and subtract the object from it.
Getting this right is critical, as the surfaces you create here are the very places you’ll later define your boundary conditions like inlets and outlets.
Choosing Your Weapon: Ansys SpaceClaim vs. Native CAD Software for Geometry Prep
A common question is, “Can’t I just do this in my CAD software?” The answer is… maybe. But it’s often like trying to use a screwdriver to hammer a nail. It might work eventually, but it’s not the right tool for the job. Dedicated geometry prep tools are built for this.
Here’s a quick breakdown:
| Feature/Task | Native CAD (e.g., SolidWorks, Creo) | Dedicated Prep Tool (e.g., SpaceClaim) |
| Editing Imported Geometry | Painful, often breaks the model’s history tree | Effortless, direct modeling is king 👑 |
| Repairing Holes & Gaps | Basic tools, often fails on complex cases | Powerful, automated repair functions |
| Fluid Domain Extraction | Manual and error-prone | Often a one-click operation |
| Scripting & Automation | Limited for geometry repair | Excellent capabilities for repetitive tasks |
The bottom line: if you have a simple, clean model you designed yourself, your native CAD software is probably fine. For anything imported, complex, or just plain messy, a dedicated tool will pay for itself in saved time and frustration.
From Our Engineers’ Playbook: A Pre-Meshing Checklist for Guaranteed Success
Before you hit that “Generate Mesh” button, run through this quick mental checklist. This habit will save you from countless failed jobs.
- Final Visual Inspection: Zoom in and rotate the model. Does anything look weird? Any strange sliver faces you missed?
- Watertight Check: Run a leak detection tool if your software has one.
- Interference Check: Verify there are zero intersecting or overlapping bodies left.
- Named Selections: Have you properly named all your boundary surfaces (inlet, outlet, walls, etc.)? This makes setup way easier.
- Physics Check: Take one last look. Did you simplify too much? Did you remove a feature that was actually critical to the flow physics?
A clean geometry that passes this check is the first step towards a stable simulation. It’s the foundation for everything that comes after, including the challenge of achieving solver convergence.
When to DIY vs. When to Partner with a Specialist like CFDSource
So, should you do all this yourself? It depends on three things: your time, your tools, and your tolerance for frustration.
Go DIY if:
- The geometry is relatively simple.
- You have access to and are proficient with a good geometry prep tool.
- Your project timeline has some flexibility.
Consider a partner if:
- The geometry is a nightmare (think complex castings or scanned data).
- Your deadline is tight and you can’t afford to lose days on geometry prep.
- You need guaranteed, high-quality results and can’t risk the simulation’s foundation being shaky.
Sometimes, the most efficient move is to let an expert handle the most time-consuming part of the process. An experienced fluid dynamics consultant can often clean and prep a model in a few hours that might take an in-house engineer days to wrestle with. It’s about using your resources wisely.
Conclusion: Your Geometry Is the Foundation of Every Accurate CFD Result
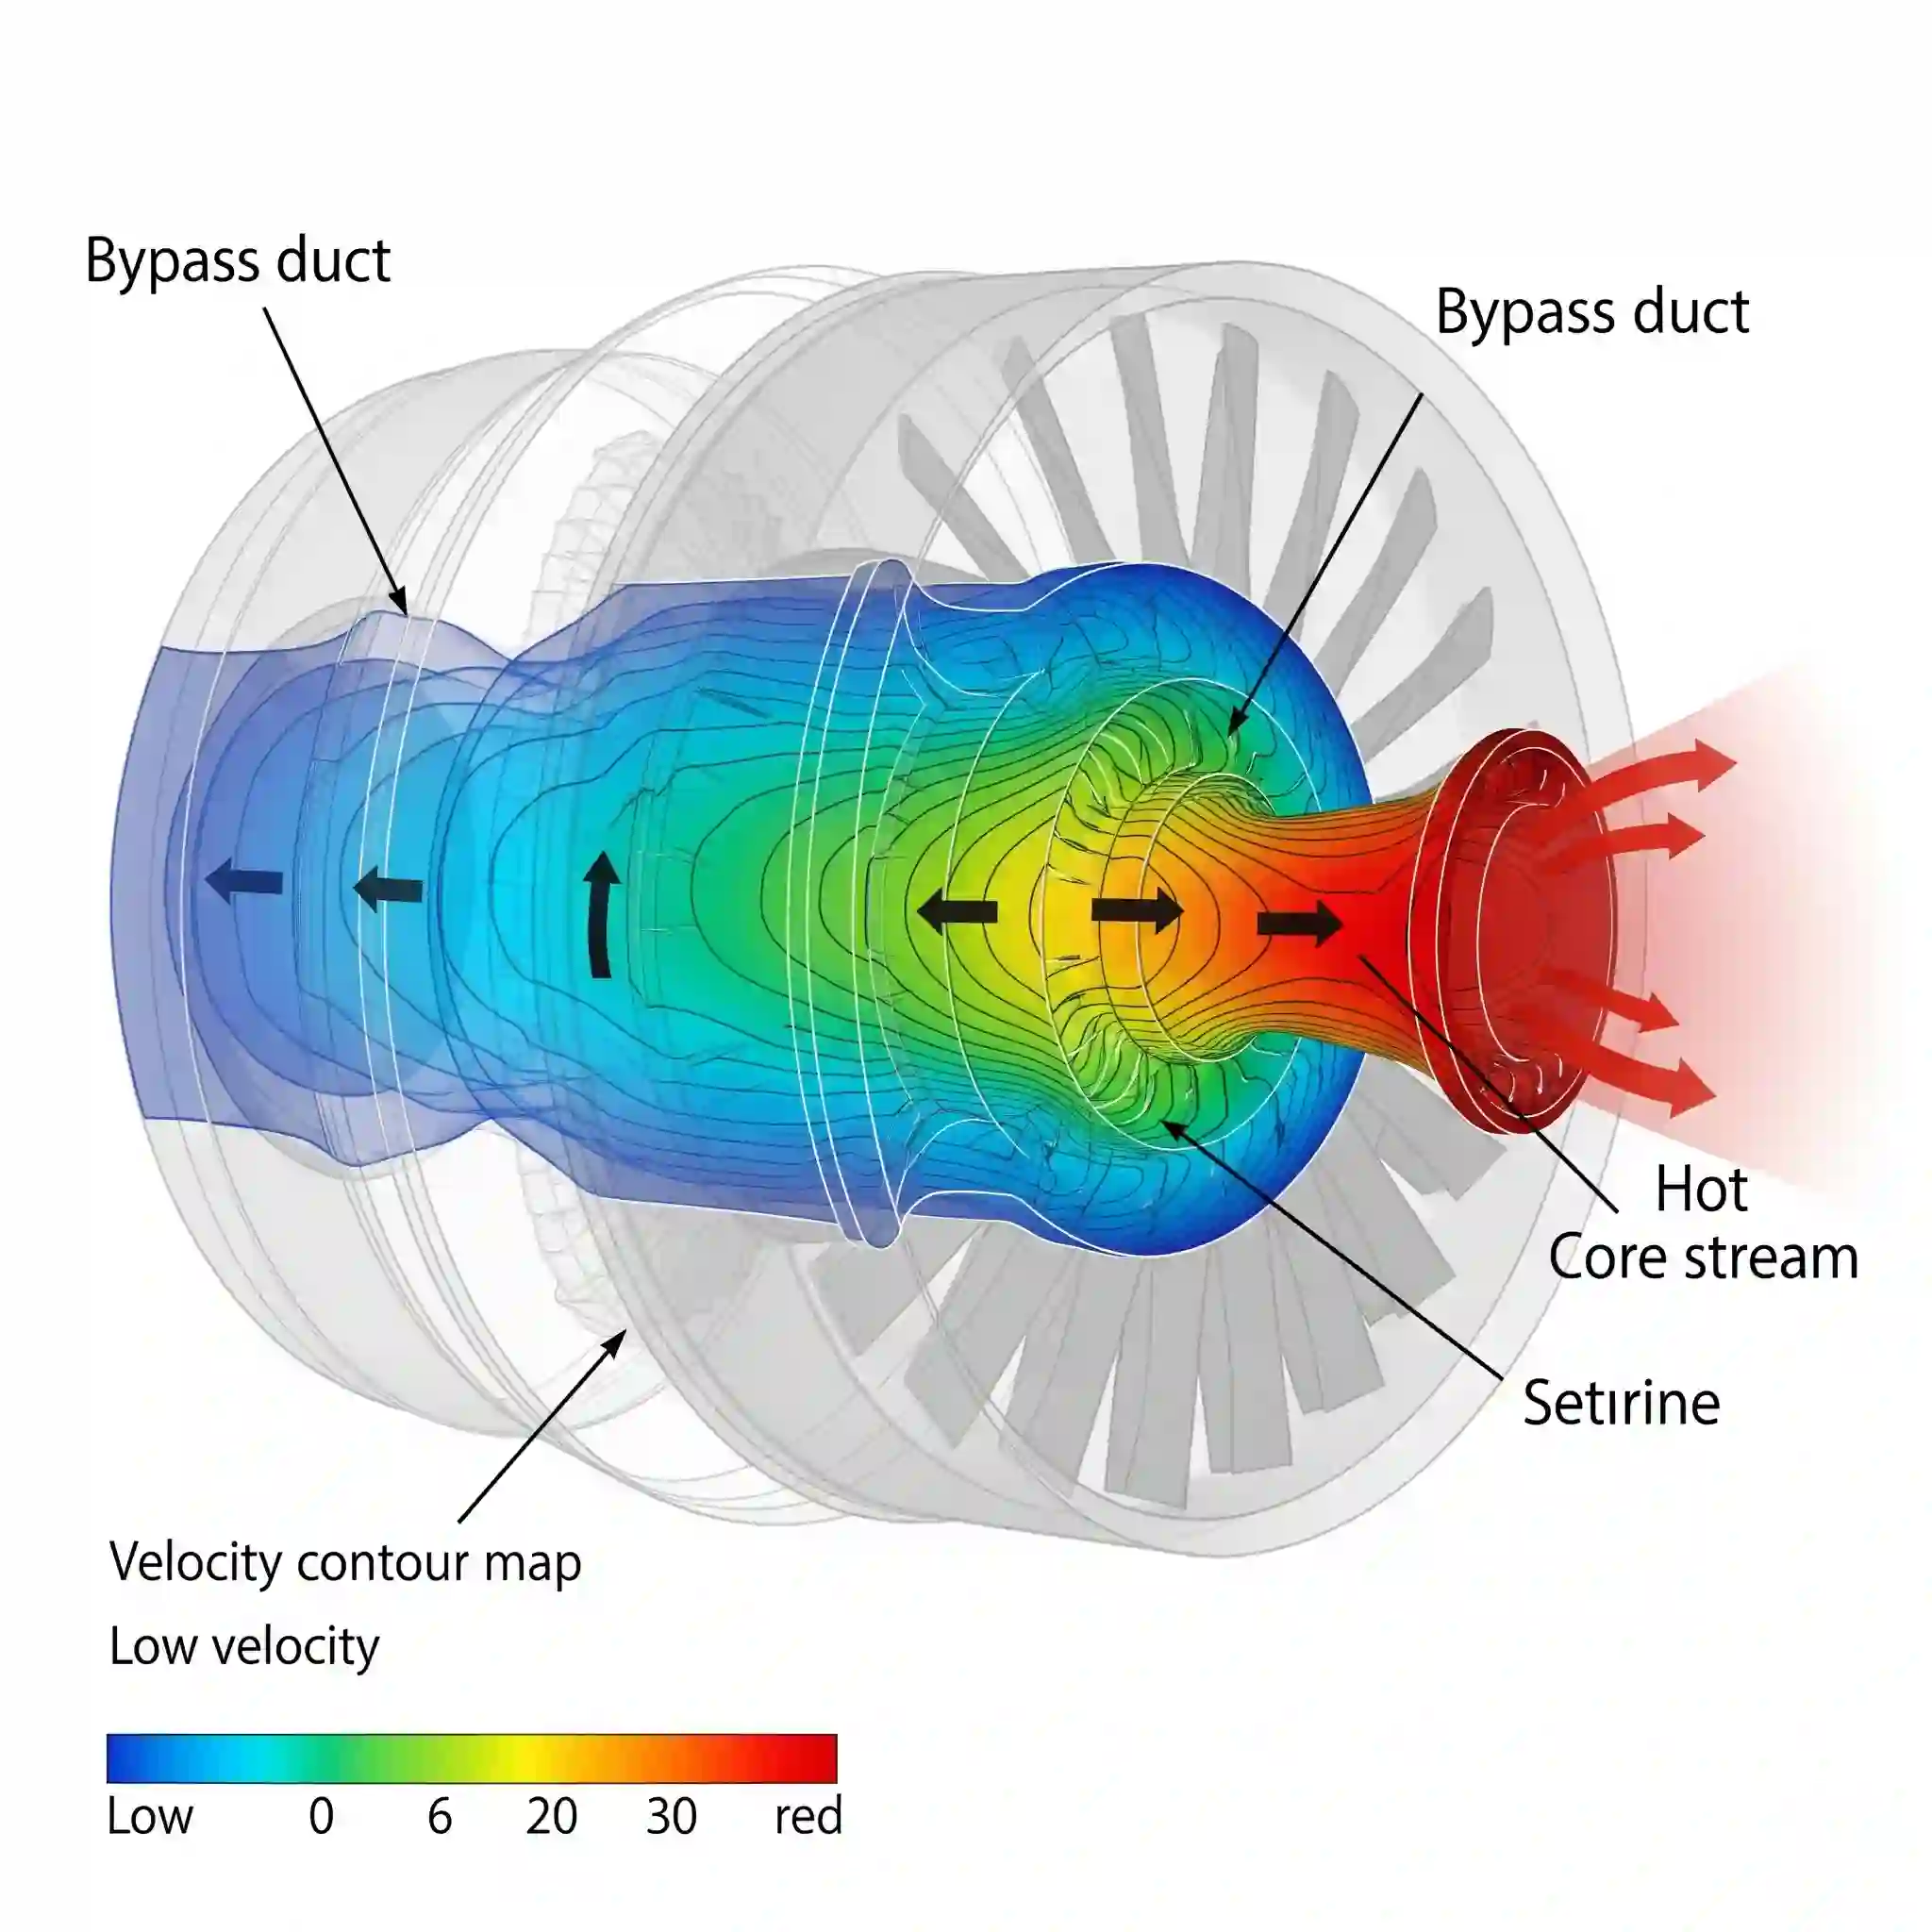
Don’t ever treat geometry preparation as a trivial pre-processing step. It is the foundation upon which your entire simulation is built. A rushed or sloppy job here will haunt you through meshing, solving, and even into your final analysis. The beautiful contours and vectors you see in CFD post-processing are meaningless if they are based on a flawed foundation. Take the time to do it right.
Accelerate Your Project: Let CFDSource Handle Your Geometry & Meshing Challenges
Ultimately, the goal of effective geometry cleanup for CFD analysis is to get you to the results faster and with more confidence. If you’re stuck with a model that won’t cooperate and a deadline that won’t move, we’re here to help. Our team lives and breathes this stuff. We turn complex, dirty CAD into clean, simulation-ready geometry so you can focus on what matters most: interpreting the results and making great engineering decisions.